Is your once-fly acrylic mani starting to look decidedly sorry for itself during lockdown?
You and your grown-out talons aren't alone.
With visits to the nail salon on pause, Cult Beauty reports that searches for "how to remove acrylic nails yourself" have shot up by 129%.
It seems that during quarantine, we're all keen to improve our DIY mani knowledge and gain more nail care know-how.
Advert
But tackling hard, glossy acrylic nails is an intimidating prospect, and should be approached with care, in order to maintain the health of your natural nail beneath.
If you're one of the 137,440 people searching for a hassle-free way to lose those grown-out acrylics, then worry not, you've come to the right place.
Tyla asked acclaimed celebrity and session nail artist Michelle Humphrey (@nailsbymh) to share her top tips for safe and effective at-home acrylic removal.
You will need:
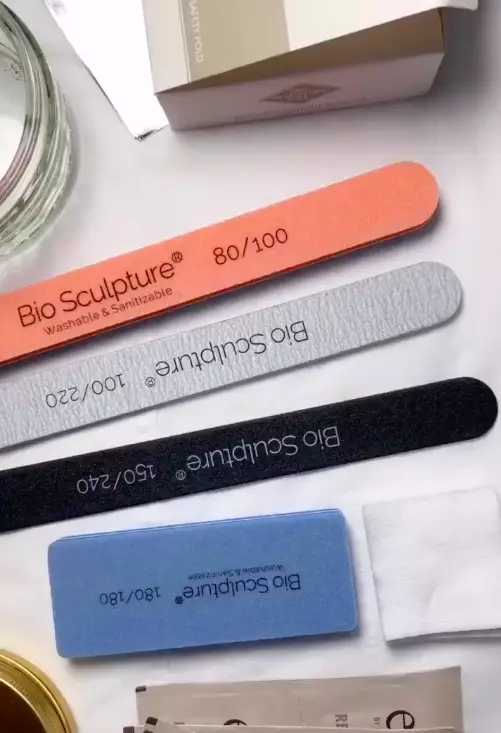
- A coarse nail file, 100 and 200 grit ideally (available on Amazon)
- A soft nail buffer (I recommend the Elegant Touch brand)
- Nail clippers
- Acetone - the purer the better
- Kitchen foil
- Cotton pads
- Orange wood sticks (available on Amazon and in many high street chemists)
- Cuticle oil, I love BioSculpture Ethos Cuticle Oil
- Nail strengthener
Step-by-step:
Advert
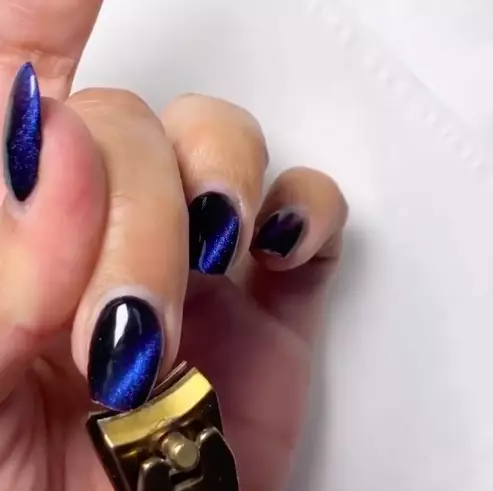
1. First, carefully clip down any excess length using nail clippers. This will save you time and give you less surface area to file down.
2. Next, you'll need a really coarse file, 100-200 grit ideally. You can buy these from Amazon.
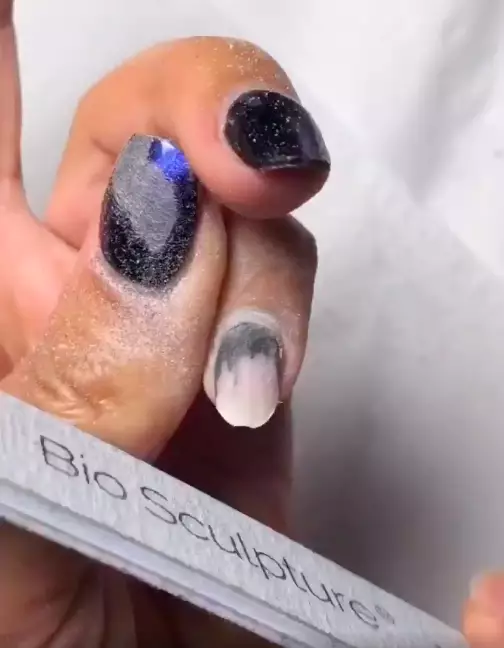
3. Remove any colour from your acrylics. If its regular polish then remove using acetone on a cotton pad, if its gel, you'll need to file it off.
Advert
4. Here comes the boring, laborious bit. Once you've removed the colour you need to file your acrylics as thin as possible, to speed up the removal time.
5. Bear in mind that if your original acrylics were very long, they will have a thick apex to support their structure - which will mean extra filing for you!
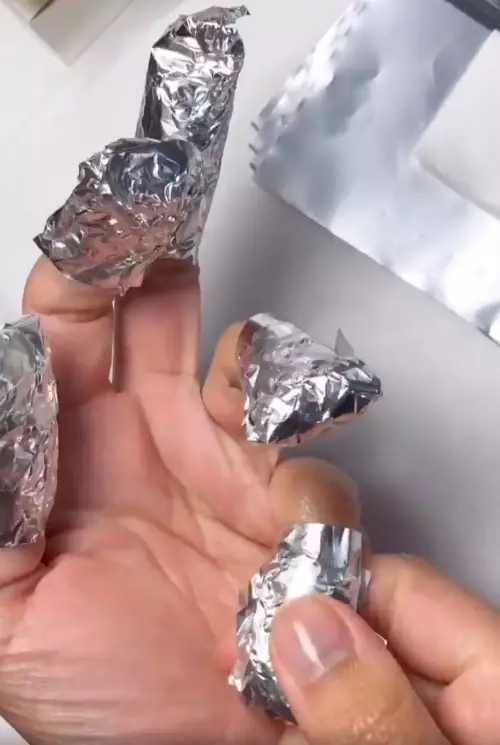
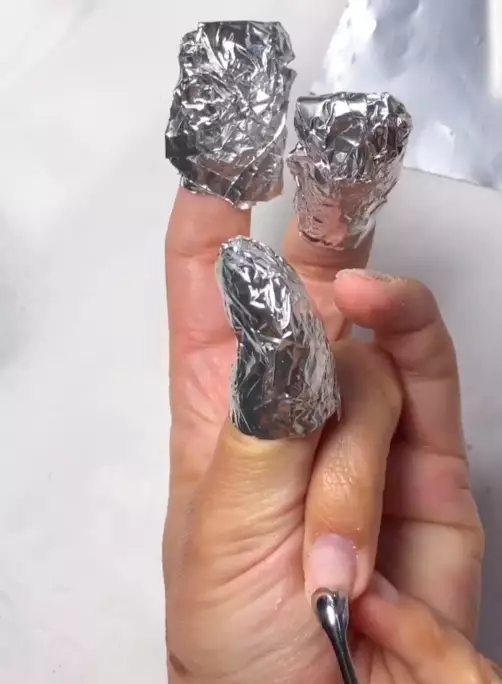
6. Next, wrap each finger in a cotton pad soaked with acetone (the purer the better!) and top with kitchen foil. Leave for 10-15 minutes.
Advert
7. When your ten minutes is up, open your foil parcels and use an orange wood stick or cuticle pusher to peel away the soaked polish.
8. If the texture is stubborn and sticky, repeat the process and leave for another 10 minutes. Never force any product off the nail plate if it's not ready, re-wrap! Remember to re-soak your cotton pads as acetone evaporates quickly.
9. This process will probably take 20-40 minutes to do yourself per hand, depending on the thickness of the acrylic.
10. Once you've removed all the acrylic you can file the free edge using your 200 grit file.
Advert
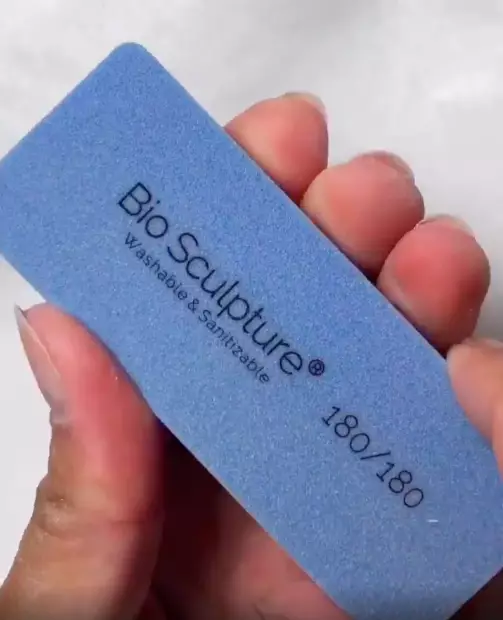
11. When you've successfully peeled away the last of the polish using your orange wood sticks, take a soft buffer to smooth and refine any remaining bumps. Elegant Touch do a nice professional buffer.
12. Once your nails are buffed, slather on a nourishing cuticle oil.
13. Follow up with a nail strengthener such as OPI's Nail Envy, and if you really want to go to town, treat yourself to a mini mani.
14. Remember that acetone is incredibly drying, so replenishing nails with a strengthener and cuticle oil after the removal process is extra important.
15. This will help to keep your natural nails strong and healthy, and calm post-manicure redness and irritation, and keep ridges and breakage at bay.

Goodbye, outgrown talons!
Featured Image Credit: ShutterstockTopics: Hair and Beauty, Nails, Life